
E-net cable is an OBD-II to Ethernet cable and used to diagnose, code and program BMW, F-series vehicles (Fxx).


How to connect BMW to E-Sys via e-net:
- Connect the OBD terminal of the cable to the OBD port of the car.

- Connect the RJ45 Ethernet terminal to the laptop.
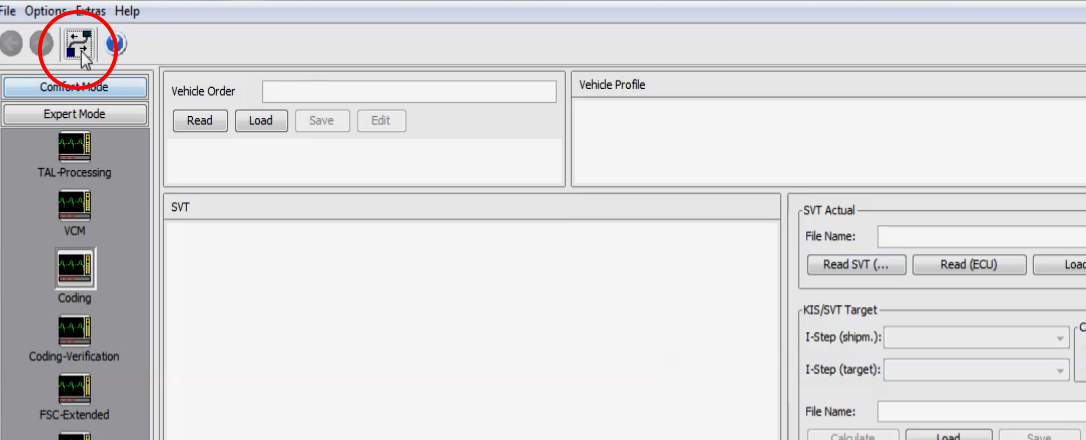
- Launch E-Sys. At the left panel, click on "Expert Mode" tab, then select "coding" icon.

- Click on connect button to establish a connection to your car.

- From the opened list, select the representative chassis to your car series and remember not to select the one ending with the word "Direct". Choose "Connect via VIN", Then click on "Connect" button.

- F001 covers F001, F002, F003, F004, F007, RR04, RR05, RR06 (5-Series GT = F07)
- F010 covers F006, F010, F011, F012, F013, F018
- F020 covers F020, F021, F022, F023, F030, F031, F032, F033, F034, F035, F036, F080, F082, F083, F087
- F025 covers F015, F016, F025, F026, F085, F086
- F056 covers F039, F045, F046, F047, F048, F049, F052, F054, F055, F056, F057, F060
- S15A covers F090, G001, G002, G011, G012, G030, G031, G032, RR11, RR12, RR31
- Wait until the connection is established and the confirmation message of successful connection is popped up, then click "Ok".

- At Vehicle Order section, click on "Read FA".

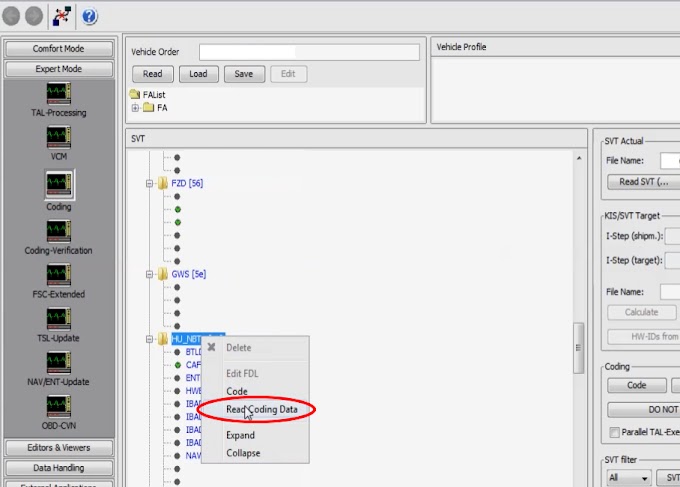
- At SVT Actual section, click on "Read SVT".

- Select "ECU", right click then "Read coding data".


- NOTE: If you get "Not Found [C012]" error when "Read Coding Data", update your PSdZData.
- Now, the Net Coded Data files (.ncd) were generated. Backup the original files to a safe location, otherwise they will be overwritten, you may need them later. You will find them at C:\Data\CAF.
- Manually save the original vehicle order "FA". The default location is "C:\Data\FA".
- Manually save the original software variant table "SVT". The default location is "C:Data\SVT".
- Select the desired ECU to be coded, expand the ECU folder, expand the CAFD folder, right click the CAFD file and select "Edit FDL".
- Now, FDL editor will be opened, navigate to the desired option or function by browsing folders or by using search pane.
- Expand the option folder and the subfolder, right click the default value and select "Edit".
- Change the default value as it needed or as user demand.
- Click on:
- "Save" button to save changes to FDL.
- "Back" button to back to the main window (coding view).

- At Vehicle Order section, right click "FA", then "Activate FA".
 * Note: this step could be done after reading "FA" step No. (7), but it's preferred to do it here after finishing edit any changes to FDL.
 - Select the updated FDL file, right click then "Code FDL"or directly click on "Code FDL" button on the right hand side.

- At the end of coding process, close the coding window and be sure that coding result is in green and finished without errors, then close the window. You may save the coding result for later information if you like.


- Click on "Connection" button to disconnect your car, then click "Close" on confirmation message.


============================================================


0 Comments